
This section below will explain the workflow to start with your project and typical steps to start analysis.
The EAM Check tool may be used first if you wish to review the Revit project for possible issues that may need to be resolved.
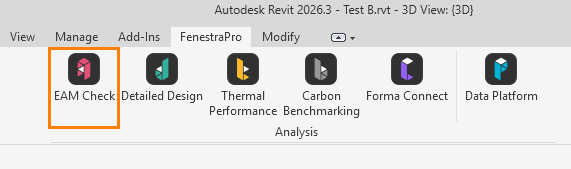
Click on this tool on the FenestraPro menu and cthen click on Start on the launch window that appears.

A detailed explanation of the EAM Check tool is provided later. In this tool you may diagnose model issues, adjust settings, ensure that a complete energy model is being generated and isolate elements to review functions etc. You may also check if all elements have thermal properties and define schematic values to use temporarily if required.
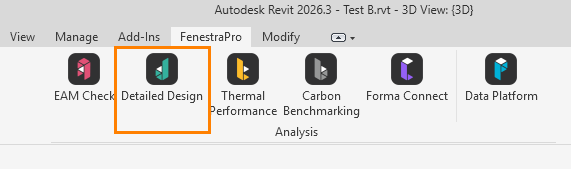
Launch the Detailed Design tool by launching from the FenestraPro menu.
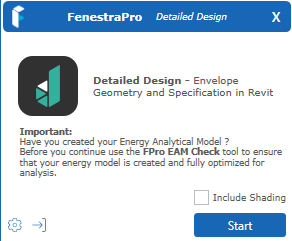
A launch window will display. If you wish to Include Shading factors in the results, click the box provided (this is optional). Then click on Start to proceed. Please wait while the model is extracted into the application.
Syncing the Glass Database to Revit
After installing the application or if you update to the latest version and opening the Detailed Design tool, the Glass Database in FenestraPro will sync with Revit, meaning that additional glass types will be added to Revit’s analytical constructions. To enable this, it is necessary to restart Revit one time in order to update Revit’s internal file. This will ensure that the glass types selected in the application will also be available in Revit. Simply close the application, save your model and restart Revit one time.
A message will display to advise that the glass database in the application is syncing with Revit.
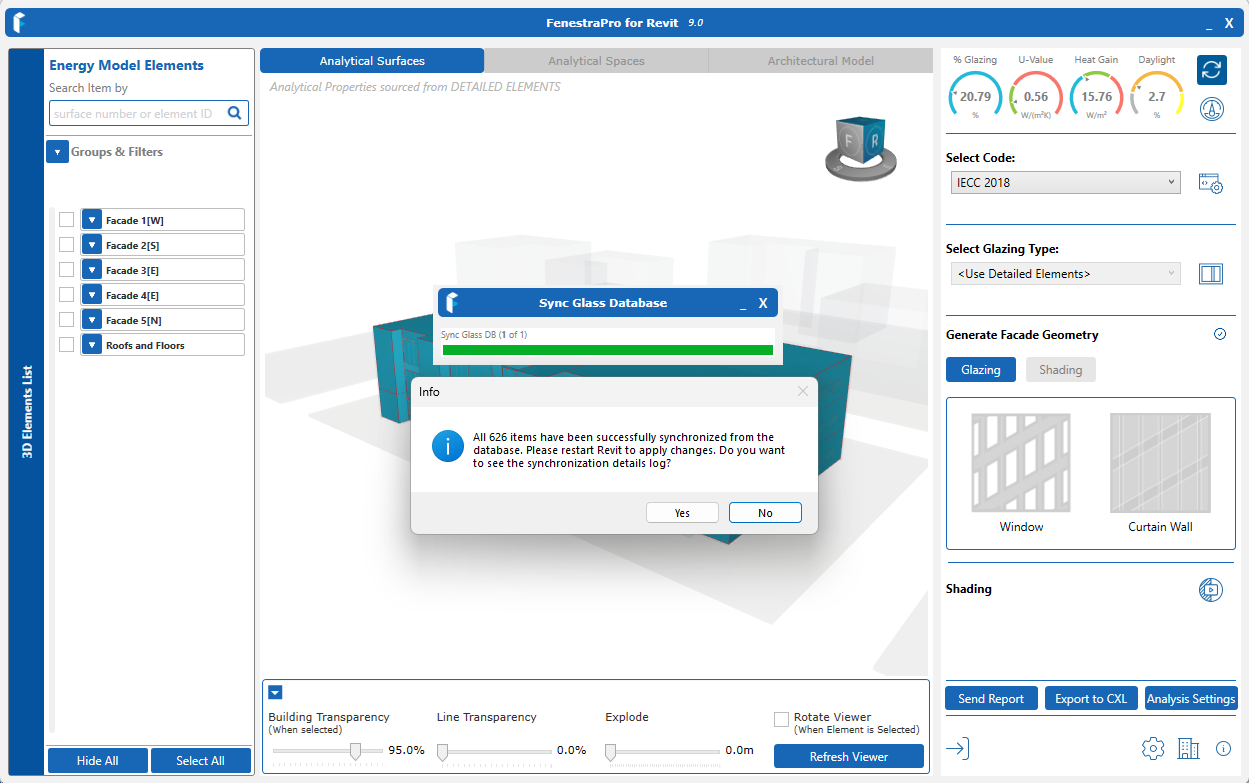
There is also an option to verify the list of new glass types (the number may vary if you have imported custom glass types from a supplier and they are stored in your account). If you wish to view the log of glass types that were added, you may click Yes, otherwise proceed by clicking No.


