If you wish to sign up for a Trial License, go to our main website here and fill in your details. You will then receive a confirmation email and link to login to your online account.
A Trial license can always be converted to a full subscription later.

The process is described below or there is a video tutorial link here also.

Once a subscription has been purchased, a full FenestraPro license will be created and each user will receive an invitation email (to each email address provided). The number of seats required can be agreed with our sales team.
Each User should click on the links in the email to complete the registration process.
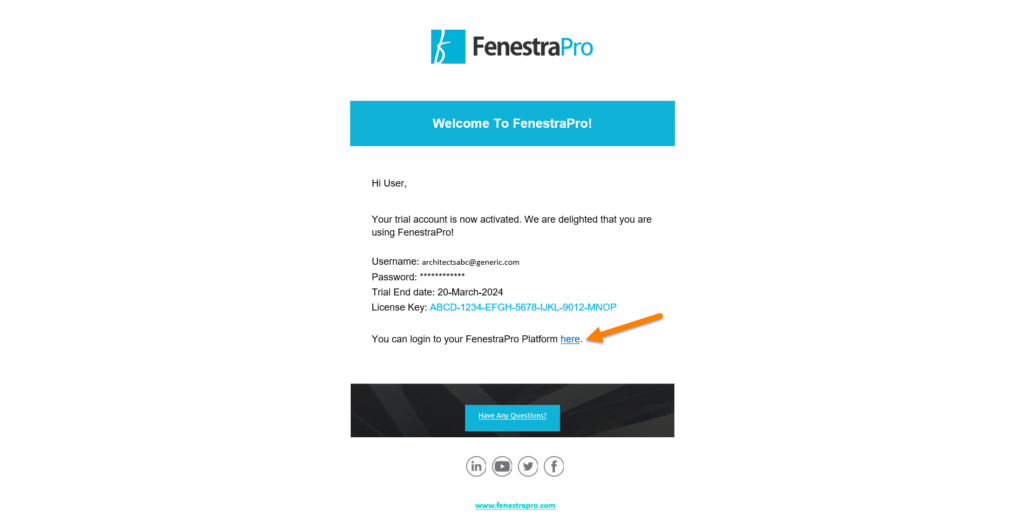
1. Link 1 – opens a browser window where you can Verify your Account (enter your email an create a password)
2. Link 2 – opens the page on our Support Site, where you can download the Revit plugin (installer file).
3. Link 3 – For a Trial License, you may download sample models (Trials are restricted to sample models only and a limited Glass Database).
You are welcome to download the sample models also and wish to test different features and get used to the software. Complex models may have modelling issues which first need resolving (please contact us for assistance and advice on Best Practice and Guidance with modelling issues).
4. Your License Key is shown in the email. You will need this when launching the application in Revit.

a) Click on the Link 1. in the email (Create Your Login credentials) to verify your email address. Note: this link is unique to your user email and it is used to verify your correct email address. This link cannot be shared to create multiple accounts (each user must be invited to join from our system and have their own account).
Simply enter the same email address where you received the invitation. You may use the ‘Show Password’ setting to display your password to ensure that it is correct.
Then click on Verify to proceed. A new window will display and you may now sign in.

b) Sign-in. Once verification is completed, you will be invited to sign-in to your account using these credentials. This will take you to your account area online.
(You may also check ‘Remember Me’ so that if the browser Tab is closed, you will remain signed in).

Here you will have access to your User Profile, Unit preferences, Password Settings, Glass Database, Reports (will populate and be saved here as they are exported), Links to your Learning Portal (free tutorials and modules), link to this Support Site, Installer files etc. Note: Users with Administrator Privileges will have further permissions in their account area to view License details, Users and create Teams etc. Typically, Managers and Team Leaders may request to be set as Admin Users (please advise us and we can set that for you).
c) Link 2 – provides a path to the installer file. Download and install this Revit Addin (Close any open Revit session first).
d) Link 3 – provides access to the sample model files for testing and onboarding reviews.

Sample Models for getting started are also available on this Support Site here.
![]()
