Workflow Videos – follow along with the videos to discover all the features
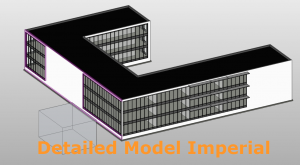
1. Workflow for Detailed Models
Learn how to:
- Launch the application and define settings
- ‘Onboard’ your model (Assign glazing if missing, check for model issues)
- Define an Energy Code and override model values if needed
- Calculate results in the Building Manager
- Sync, save your model and restart Revit one time (if you have just installed)
- Relaunch Revit and Continue
- Navigate in the Model Viewer, make selections
- Use the Glass Database to assign glass types, review updates in Revit
- Use the Smart Surface Tool to find a glass type
- Add Windows using performance targets
- Review the Shading Animations
- Save a HTML Report and add custom Charts
Download a Sample Model below
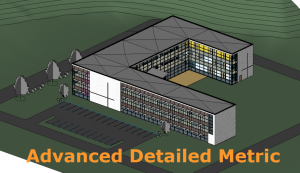
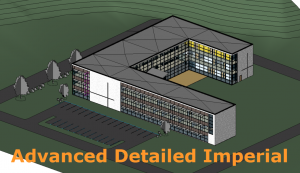
3. Workflow for Advanced Detailed Models
- Launch FenestraPro, check Energy Settings and define project set-up
- Onboard your Revit model (extract to the application and check the model)
- Navigate the Viewer and use the Charts
- Add Curtain Walls using performance targets
- Use the Glazing Database to change glazing properties
Download a Sample Model below


